
Your Essential Toolkit for Great Guitar Tone
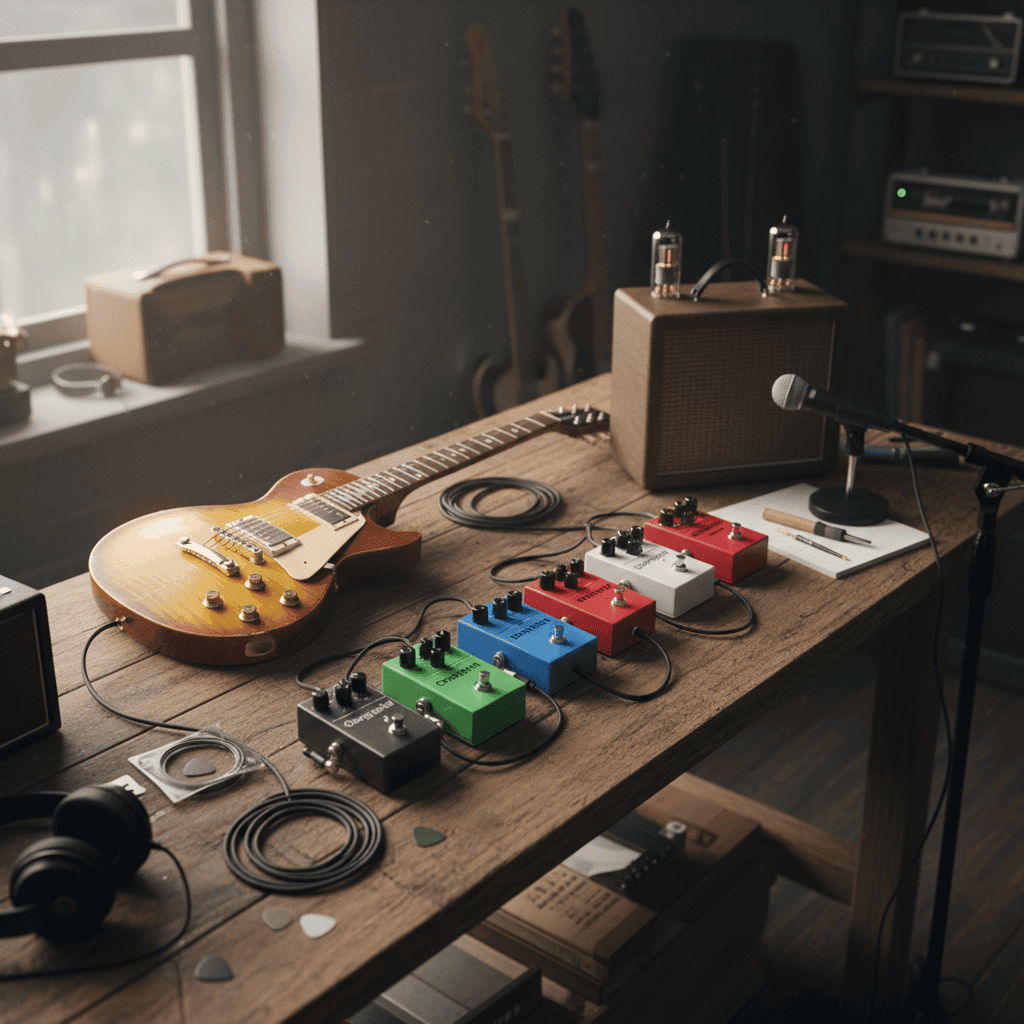
Great guitar tone is not a secret formula reserved for a few famous players. It is the outcome of choices that stack together in predictable ways. This article lays out a clear toolkit you can use in practice to shape your own sound and get results in rehearsal and on stage. You will find practical tips, real examples, and a checklist you can use to test gear and settings.
Whether you are starting from a bedroom rig or moving from practice amp to a gig rig the concepts are the same. Focus on the interaction between guitar, amp, effects, and the room. Add simple habits such as logging settings and swapping a single item at a time to learn how each element changes the sound.
Your Essential Toolkit for Great Guitar Tone explained
Think of tone as an ongoing project with a toolbox. The toolbox contains instruments and habits that you use together. Key items are your guitar and pickups, the amp and its settings, effects and the order in which they appear, strings and picks, and your listening practice. Each item affects frequency balance, attack, sustain, and dynamic response.
As an example start with a neutral amp voice and one effect at a time. That removes variables and makes cause and effect obvious. Keep notes about preferred settings for each song and venue so you do not need to guess under pressure.
Choosing the right guitar and pickups for tone
Your guitar is the primary source of tone. Body wood and construction play a role but pickup type and placement are often more audible. Single coils sound clearer and have more pick definition. Humbuckers deliver thicker low mids and more sustain. A guitar with a bridge pickup near the saddle will present more attack and brightness.
Pickup selection and wiring
Consider coil splitting and multiple pickup positions as tone tools. A neck pickup gives warmth for clean passages. The bridge pickup cuts through in a band mix. Wiring options such as series parallel switching can broaden available voices without changing instruments.
Setup and intonation tips
Correct action and intonation change perceived tone. Lower action increases playability and can feel brighter while higher action often improves sustain. Check neck relief and saddle height when strings are changed. Fresh strings usually improve clarity and harmonic response within a single practice session.
Understanding amps and practical amp settings
Your amp is a tone shaper more than a simple loudspeaker. Even a small practice amp can produce great tone when you understand gain staging. Start with the amp clean and set bass middle and treble to noon. Raise gain gradually so notes remain clear and frequencies do not smear. If clarity disappears drop gain and add a pedal for coloration.
EQ is powerful and often subtle. Small changes to midrange can make a guitar sit differently in a mix. Try cutting a little bass if the low end becomes muddy with multiple instruments. Use the presence control to add air without increasing harsh highs.
Pedals and the signal chain for great guitar tone
Effects are tone modifiers that react to your guitar and amp interaction. Put dynamics and drive effects early and time based effects later. A typical signal chain is tuner then compression then overdrive and distortion then modulation then delay and reverb. That order is a starting point not a rule. Experiment with moving a delay before a distortion for creative textures.
Gain staging and overdrive choices
Overdrive pedals are often used to push an amp rather than to provide all the gain. Use a low to medium gain pedal to add harmonic content and touch sensitivity. If you need more high gain consider stacking a second pedal after a boost or using a pedal in the effects loop of the amp where available.
Modulation and ambience tips
Chorus vibrato and flange add movement and can make single note lines feel larger. Put modulation after gain stages for consistent effect. Delay and reverb add space and should be used with restraint for rhythmic clarity. Short delays can thicken lead lines while long delays create ambient washes.
Strings picks cables and small parts that matter
Small items are often overlooked yet they change tone and feel a lot. String gauge affects tension and low end response. Heavier gauges give more string tension and fuller low frequencies while lighter gauges feel easier to bend. Pick material and thickness determine attack. A thin plastic pick gives a bright snap. A heavier pick with a rounded tip smooths the attack.
- Strings change over time so change them regularly if you want consistent tone
- Use a quality cable with good shielding to avoid noise
- Check nut condition and bridge saddles for tuning stability
Even small changes such as sanding a nut slot or using a different pick can be the difference between a recording that sits in the mix and one that gets lost.
Room acoustics and mic placement for recorded tone
The room adds reflections that color the sound. A dead room gives direct, dry recordings while a lively room adds natural reverb and low frequency buildup. Move a microphone position and listen at each step. Close micing picks up direct attack and string detail. Placing a mic farther back captures more of the cabinet and room sound.
When recording try blending a close mic and a room mic for balance. Use small adjustments to mic angle to tame harsh frequencies. A cardoid mic pointed slightly off axis reduces aggressive highs while preserving clarity.
Practice ear training and learning resources
Training your ear is part of the toolkit. Spend focused time listening to recordings and matching tones on your rig. Try to recreate a recorded guitar sound using only EQ and gain changes. That exercise improves your ability to choose settings quickly in rehearsal and live scenarios.
Read interviews and rig rundowns to see how experienced players approach tone choices. One useful compilation of resources and links is available at New Wave Magazine where you can follow up with curated articles and gear lists that match different styles.
Troubleshooting common tone problems
When tone does not come together isolate variables one at a time. Start with the guitar plugged directly into the amp. If that sounds good add pedals one by one. If noise appears when a pedal is added check the power supply and cable shielding. If tone becomes thin with more instruments present try cutting treble or boosting mids to help the guitar sit in the mix.
Tuning issues can mask tone problems. Phase cancellation from multiple sound sources can make a full tone disappear. If two microphones are used check phase alignment and distance from the sound source to avoid comb filtering.
Keeping a simple log of settings for each venue and song helps troubleshooting under pressure. Note string age, amp model and settings, pedal chain order and batteries or power supply type. A concise record saves time and reduces guesswork.
Great tone is built with intention not luck. Start with the fundamentals listed here. Use small, repeatable experiments and record the results. When you hear progress keep the change and refine it. Remember that tone is personal and context dependent. A sound that works in one band mix may need adjustments in another. Apply the checklist, practice listening, and revise until the sound supports the music.
If you enjoyed this article try one simple action today. Choose one variable such as pickup height or a single pedal and change it deliberately. Take notes and play the same passage before and after the change. That focused habit builds practical knowledge faster than random swapping. Now make that choice and hear the difference.